
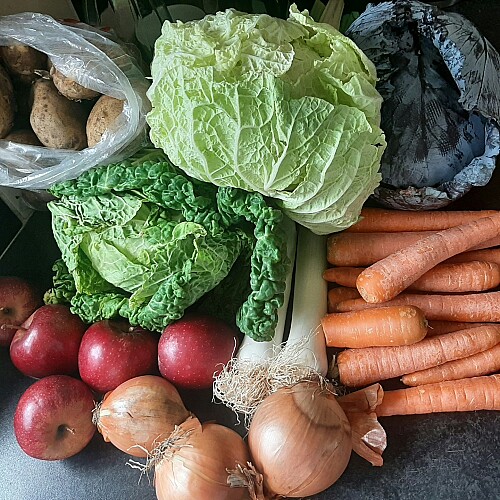
You bought the spinach with the best intentions. You even grabbed the good tomatoes and a bunch of cilantro that smelled incredible at the store. A week later, the spinach is slimy, the tomatoes have gone soft, and the cilantro looks like it gave up on life. Sound familiar? Treat your fresh ingredients right when you get home, and your crisper stays full of dinner ideas instead of decomposing good intentions.
Keeping your haul alive and flavorful doesn’t require a culinary degree or a commercial walk-in cooler. It comes down to a few small moves between the front door and the fridge. Once you know how to choose produce at its peak, store it so it lasts, and freeze the extras before they turn, you’ll waste a lot less and cook a lot better. If you’re building out a full kitchen foundation, our pantry staples guide covers the shelf-stable side.
Choosing Fresh Produce
Great meals start at the store, the farmers market, or even the roadside stand. Grabbing the first decent-looking bunch and hoping for the best is a strategy, just not a great one. Your senses are sharper shoppers than your gut will ever be and infinitely more reliable than a “best by” sticker. You just need to know what to scan for.
Color, Firmness, and Aroma
Color, firmness, and aroma each tell you something different, and checking all three gives you a much clearer picture than relying on any single one. Bright, saturated color means it was harvested at the right time. Firmness should feel consistent for that type of produce. And if something has no smell, it probably has no flavor, either.
Here’s what to look for on a few common picks:
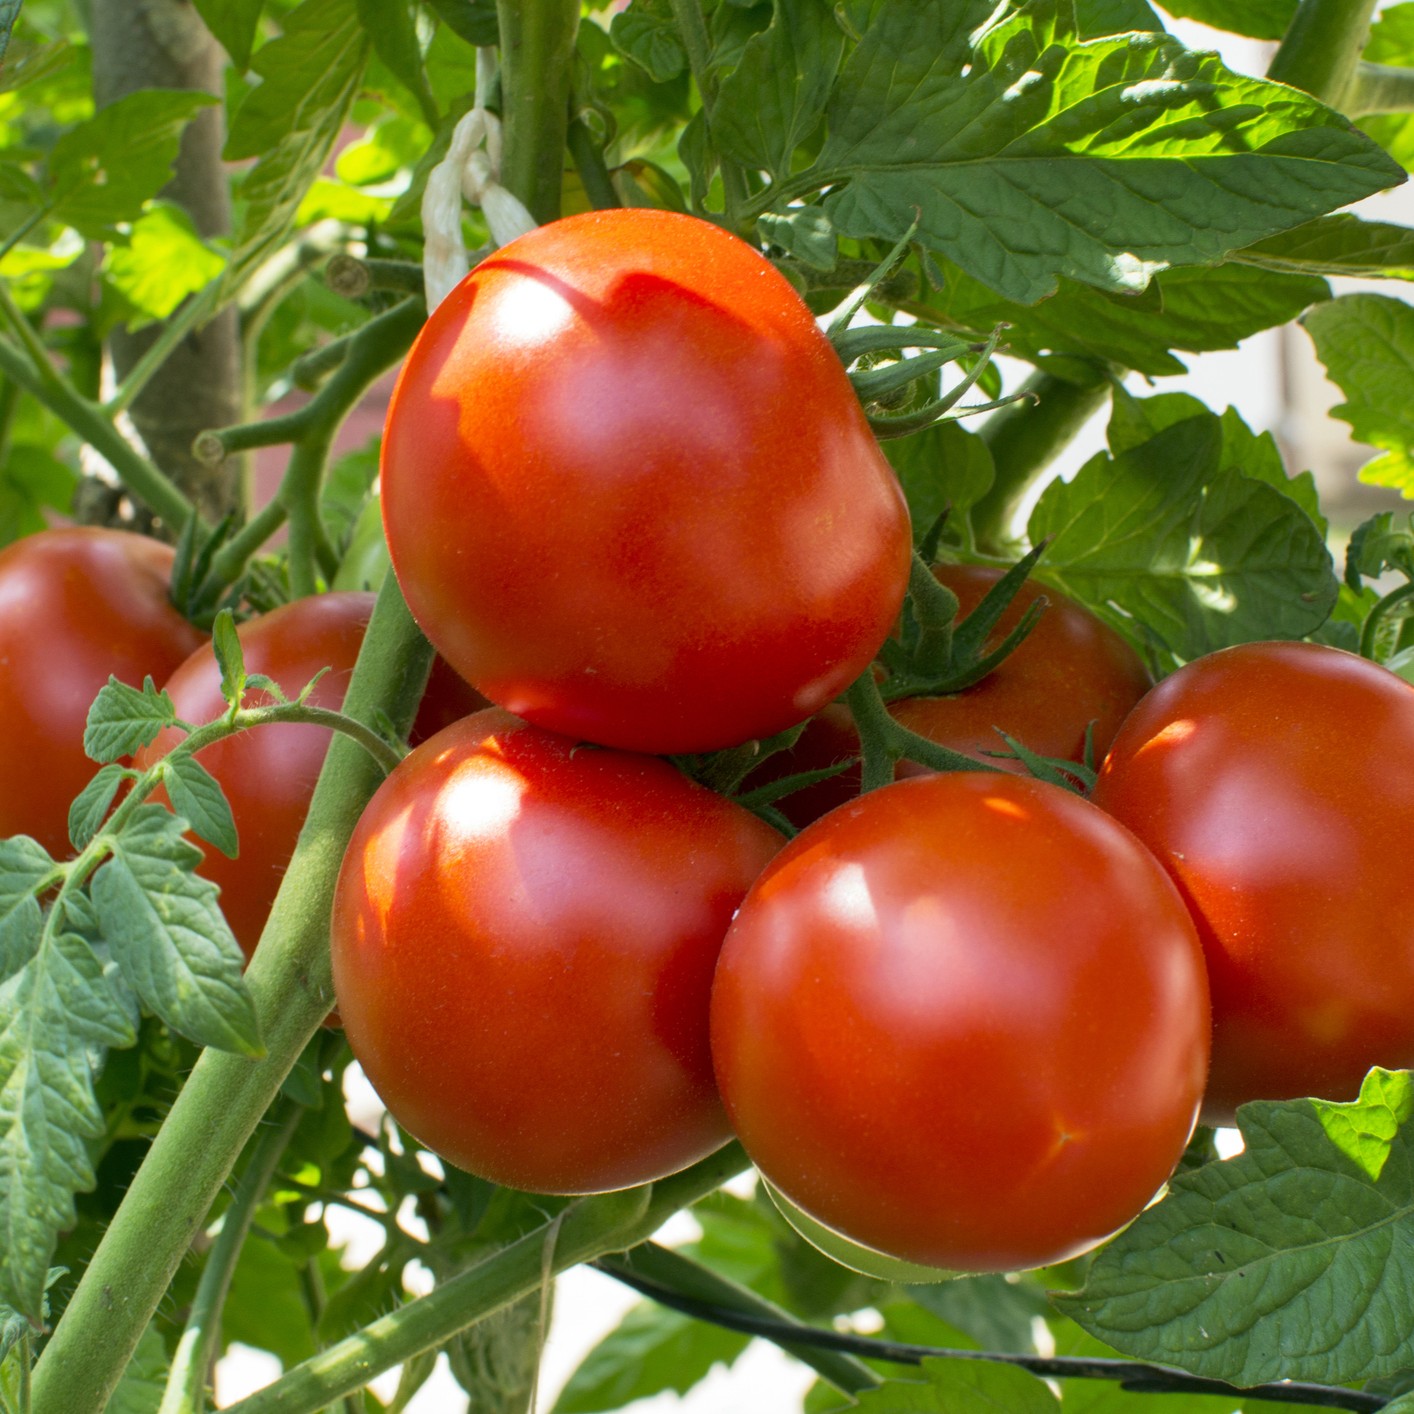
Tomatoes: deep, even red (or the color of the variety), with slight give near the stem and a sweet, earthy smell. Skip any with cracks or soft, wet spots.
Avocados: dark skin with gentle give under your thumb, like pressing a tennis ball. If the small stem cap pops off and shows green underneath, it’s ripe. Brown underneath means overripe.
Bell peppers: glossy, wrinkle-free skin and a firm, heavy feel. A heavier pepper has thicker walls and more flavor.
Leafy greens: crisp leaves with no slime, yellowing, or wilted edges. Smell the bag if you can; a sour or musty note means they’re already turning.
Berries: plump, dry, and uniformly colored. Check the bottom of the container for crushed or moldy fruit hiding underneath.
Cantaloupe: golden-beige netting with no green patches. It should feel heavy and smell sweet and floral at the blossom end.
Shopping by Season
Seasonal produce costs less and tastes better because it didn’t travel across the globe to reach you. Strawberries in January may look fine, but they rarely deliver the burst of sweetness you get from a June berry picked ripe. Shopping local at a farmers market or co-op gives you a built-in cheat code because everything on the table is already in season.
If you’re not sure what’s at peak harvest, let the price tags and displays guide you. When a store overflows with zucchini or peaches, those items are likely at peak supply and flavor. Buying in bulk during peak season is also the perfect setup for freezing, which you’ll find below. A flat of summer strawberries or a bag of farmers market corn can fuel smoothies and side dishes well into fall.
Storing Fresh Ingredients
Getting produce home is only half the job. How you store fresh ingredients over the next few days determines whether they’re crisp and flavorful at dinnertime or limp and headed for the compost bin. A few simple storage adjustments can stretch the life of your groceries dramatically.
The Ethylene Rule
Certain fruits give off ethylene gas, a natural ripening compound that keeps working long after harvest. Apples, bananas, tomatoes, avocados, peaches, and plums are the biggest offenders. Ethylene speeds up ripening in whatever’s nearby, which means a bowl of apples sitting next to your lettuce will turn those greens yellow and bitter in record time.
Ethylene producers can also accelerate ripening in each other. I wasn’t paying attention the other day and tossed an avocado into the fruit basket with my apples and bananas. By the next morning, the apples had soft spots, and the bananas were covered in black patches. One careless toss cost me half the bowl.
Keep ethylene-producing fruits separate from sensitive vegetables like leafy greens, broccoli, cucumbers, and asparagus. If your fridge has two crisper drawers, dedicate one to fruit and the other to vegetables. When you can’t separate them, even a simple sealed bag around the producers will slow down the gas exchange.
Ethylene Producers (Keep Separate) | Ethylene-Sensitive (Protect These) |
|---|---|
Apples, bananas, avocados, tomatoes, peaches, pears, plums, mangoes | Leafy greens, broccoli, cauliflower, cucumbers, asparagus, berries, peppers, herbs |
Humidity Zones in Your Fridge
Most modern fridges have adjustable humidity settings on the crisper drawers, and the labels are there for a reason. High humidity (closed vent) is ideal for vegetables that wilt quickly, like spinach, kale, herbs, and green beans. Low humidity (open vent) works better for fruits and anything that rots from excess moisture, like bell peppers and mushrooms.
High Humidity (Vent Closed) | Low Humidity (Vent Open) |
|---|---|
Spinach, kale, herbs, green beans, lettuce, carrots, broccoli | Apples, grapes, bell peppers, mushrooms, peaches, plums |
Getting this right can add days to your produce. Even if your drawers don’t have adjustable vents, you can create the same effect by loosely wrapping vegetables in a damp paper towel and leaving fruits uncovered in a separate drawer.
Dark, Dry Storage for Root Vegetables
Root vegetables and alliums prefer a cool, dark, well-ventilated spot outside the fridge. A pantry shelf, a cabinet away from the oven, or a wire basket in a closet all work. Here’s how long you can expect each to last:
Potatoes: cool, dark, ventilated spot. Last one to two months. Keep away from onions and direct sunlight.
Onions: same conditions, separate basket. Last two to three months whole. Once cut, wrap tightly and refrigerate.
Garlic: dry, ventilated spot. Whole bulbs hold for about a month; once broken, individual cloves keep three to 14 days refrigerated.
Shallots: dry and well-ventilated, treated like onions. After roughly a month, they start to soften.
Reviving Herbs and Keeping Them Fresh
Tender herbs are the divas of the produce world. They wilt fast and bruise easily, but most of them will stay perky for over a week if you treat them like a bouquet of flowers. Each variety has its own preferences:
Cilantro and parsley: Trim stems, stand in a jar of water, cover loosely with a bag, and refrigerate. Change the water every two to three days.
Basil: Trim stems and stand in water on the counter, away from direct sunlight. Refrigeration turns the leaves black.
Dill and chives: Wrap loosely in a damp paper towel, then place inside an open bag in the crisper drawer.
Rosemary, thyme, and sage: Wrap loosely in a slightly damp towel and store in the crisper. These hardier herbs can last two weeks or more.
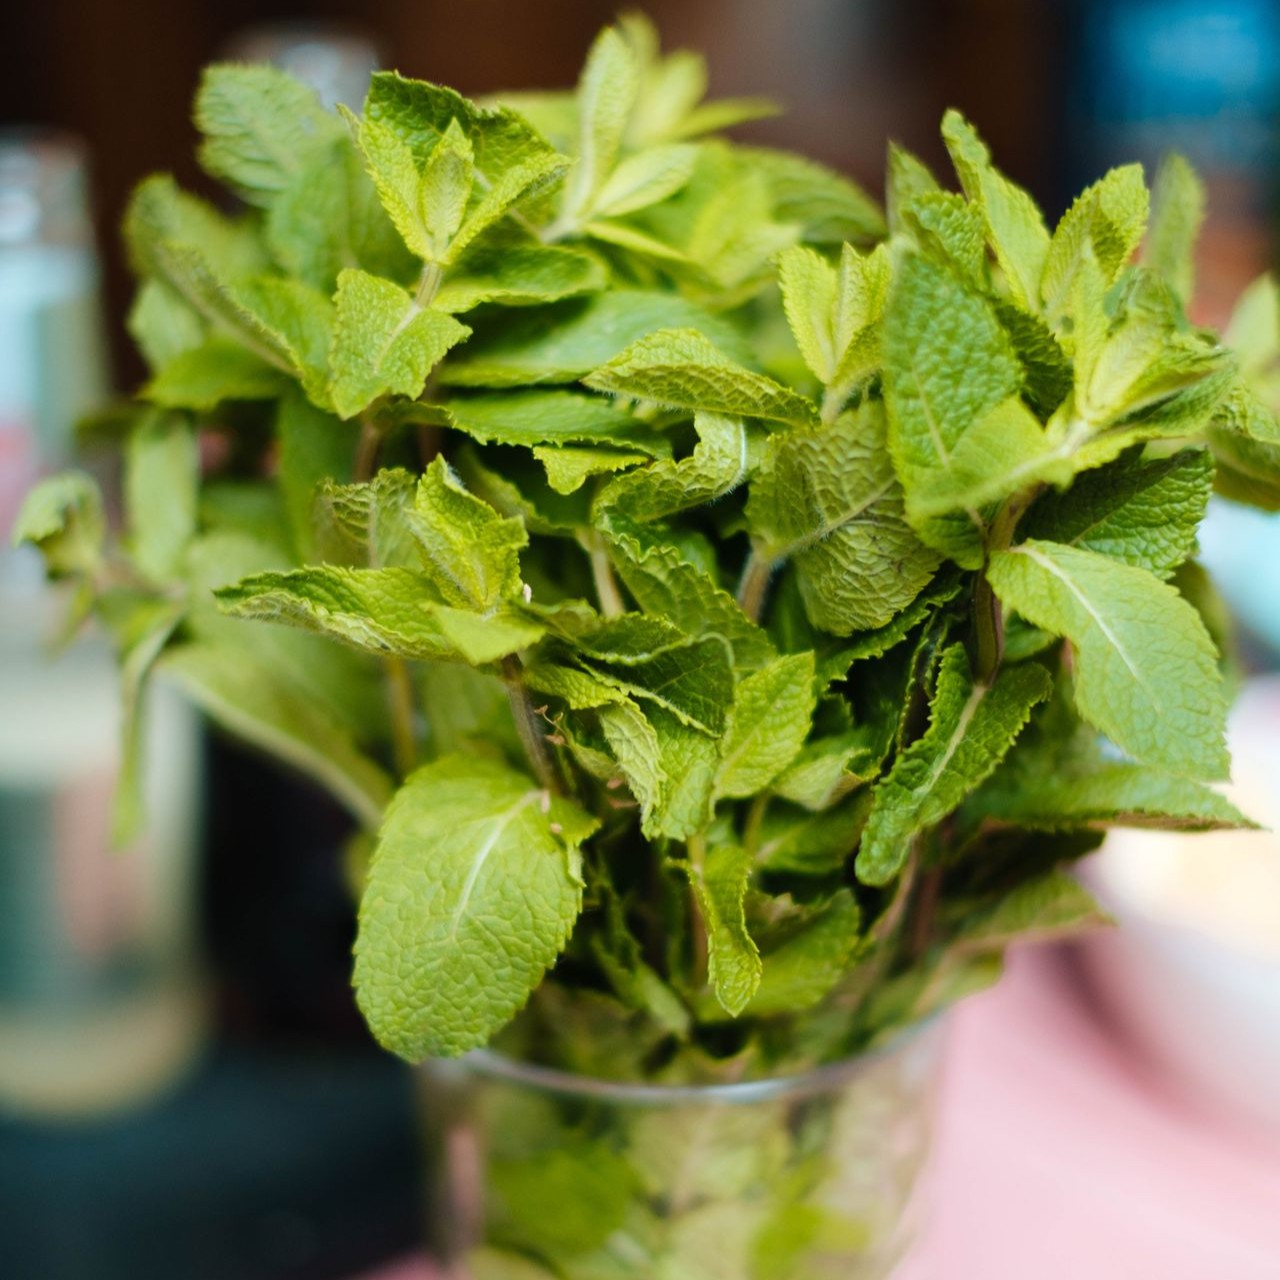
Mint: Stand stems in water like cilantro, but trim and use it fast. Mint grows aggressively and will take over your jar.
If you buy herbs frequently, a dedicated herb keeper can simplify the process. The OXO Good Grips GreenSaver Herb Keeper holds herbs upright in a water reservoir with controlled airflow, and it fits on a fridge shelf or door. Swap the water every few days, and your cilantro should last two to three weeks.
Washing and Drying Right
Meal-prep advice usually says to wash and chop everything after your grocery run for efficiency. It makes sense. If the food is ready to go when you open the fridge, you’re most likely to reach for it and not let it spoil. However, the flip side is food science, which tells us that washing vegetables adds moisture and hastens the rot process. What to do?
The key is drying everything thoroughly before it goes into the fridge. Lingering moisture encourages mold and speeds up spoilage, especially on berries and leafy greens. A salad spinner handles greens well, and a clean kitchen towel takes care of the rest. Give everything a few minutes to air dry before packing it away, and your prepped produce should hold up for days.
What Freezes Well (and What Doesn’t)
Your freezer is the best tool for stretching seasonal produce and rescuing fresh ingredients before they go bad. Handled correctly, frozen ingredients can hold their nutrition and flavor for months.
Freezes Well | Skip the Freezer |
|---|---|
Broccoli, green beans, peas, corn, carrots, spinach | Raw lettuce, cucumbers, celery, raw potatoes |
Berries, peaches and nectarines (pitted), plums (pitted), peeled bananas, mango chunks | Dairy-heavy sauces (tend to separate) |
Cooked grains, blanched greens, homemade stock | Fully cooked eggs (turn rubbery) |
If you’re unsure about a specific item, freeze a small test batch before committing to a full haul. High-water-content vegetables lose their structure during thawing, which is why the “skip” column leans heavily toward those.
Freezing Fresh Ingredients the Right Way
Tossing a bag of raw broccoli straight into the freezer is tempting, but you’ll notice the difference later when those florets come out dull, rubbery, and tasting like cardboard. A few extra steps up front turn good produce into frozen ingredients that actually taste like the fresh version, holding flavor, texture, and color for months.
Blanching Vegetables First
Blanching sounds fussy, but the process is simple. You boil vegetables briefly, then plunge them into ice water to stop the cooking. The University of Minnesota Extension recommends blanching before freezing because it deactivates enzymes that cause off-flavors, color loss, and texture breakdown during storage. It also kills surface bacteria that freezing alone won’t eliminate. Here’s how to do it:
Boil one gallon of water per pound of vegetables.
Submerge and blanch for two to five minutes (timing varies by vegetable and size).
Transfer immediately to a bowl of ice water for the same duration.
Drain thoroughly and pat dry before packing.
Common blanching times (boiling water method, per the University of Minnesota Extension):
Vegetable | Blanching Time |
|---|---|
Green beans | 3 minutes |
Broccoli florets | 3 minutes |
Carrots (sliced) | 2 minutes |
Cauliflower florets | 3 minutes |
Corn on the cob | 7–11 minutes (by size) |
Peas | 1½–2½ minutes |
Spinach | 2 minutes |
Kale | 3 minutes |
Asparagus | 2–4 minutes (by thickness) |
Summer squash | 3 minutes |
Timing matters here. Underblanching is worse than skipping the step entirely because it accelerates enzyme activity rather than stopping it. Exceptions include diced or cut onions, green onions, leeks, and peppers. Herbs can also skip blanching and go directly into freezer bags.
Portioning and Removing Air
Freezer burn happens when air meets frozen food. Those icy, dried-out patches ruin texture and mute flavor. Squeezing as much air as possible out of your storage bags before sealing is the simplest prevention. Lay bags flat so they freeze quickly and stack neatly.
Portion everything into meal-sized amounts before freezing. Two cups of blanched broccoli or a single chicken breast per pouch means you only thaw exactly what you need. Labeling each bag with the contents and date keeps your freezer organized and prevents the mystery-bag guessing game three months from now.
For an upgrade from disposable plastic, Stasher Reusable Silicone Bags handle freezing, microwaving, and dishwasher cycles without breaking down. They’re made from platinum food-grade silicone, seal leak-free with a Pinch-Loc closure, and carry a lifetime warranty. A four-pack with multiple sizes covers most portioning needs.
Safe Thawing Methods
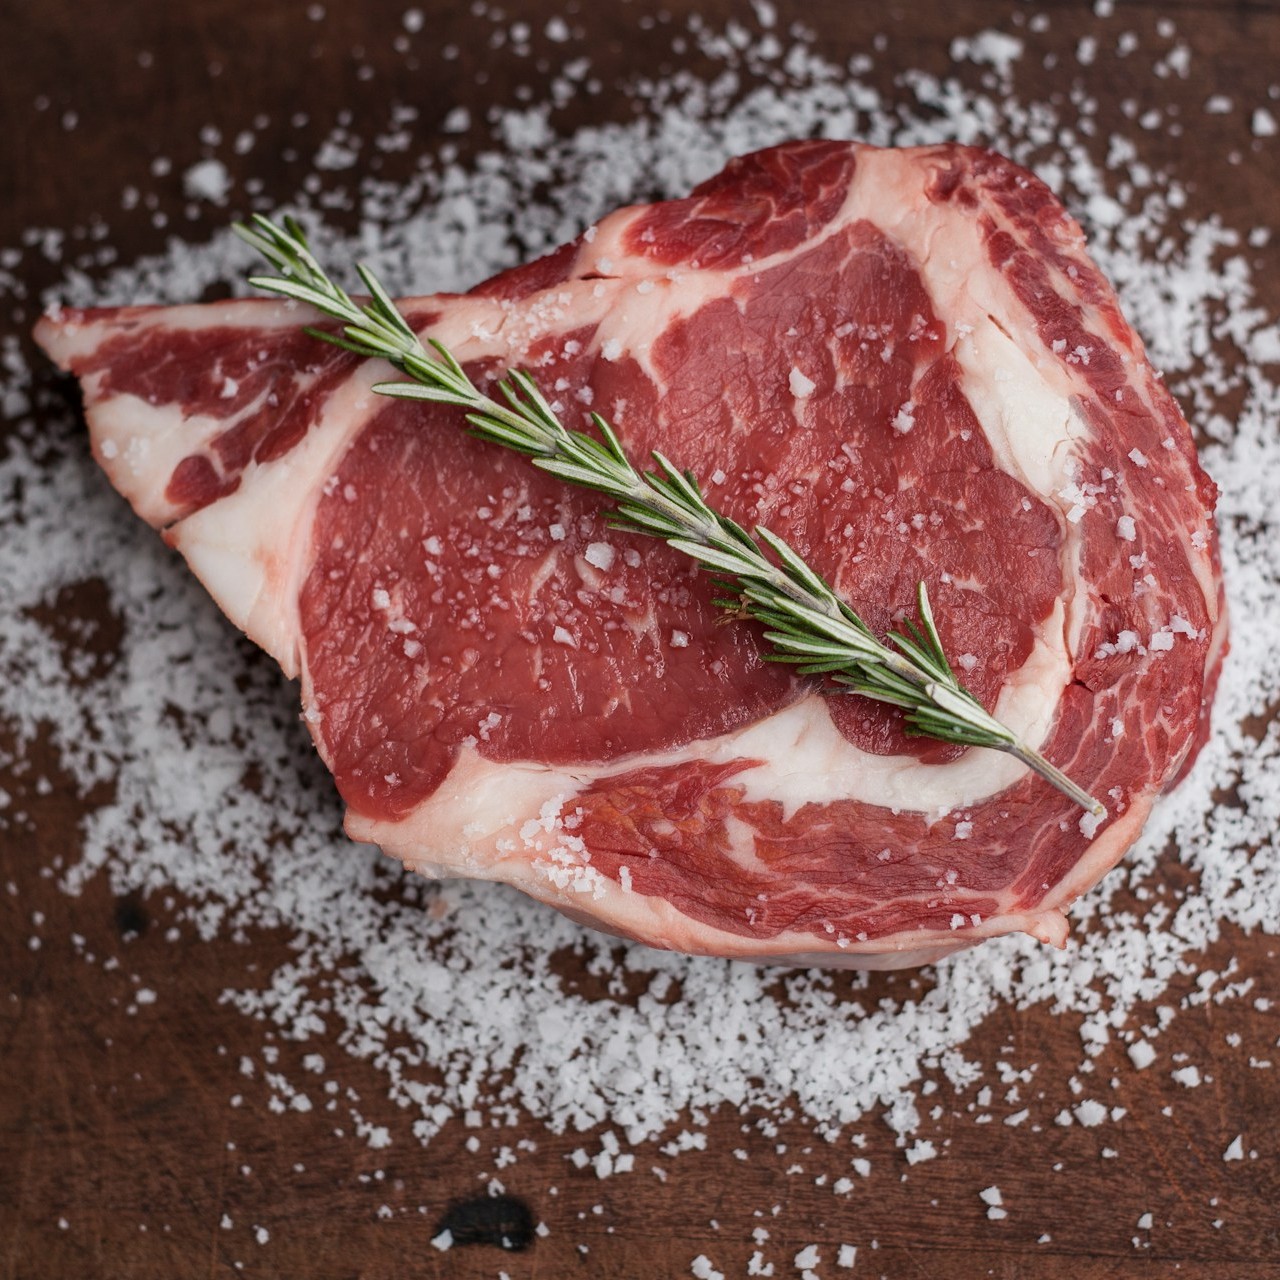
Freezing pauses bacterial growth, but it doesn’t kill anything. Once frozen food starts to warm up, whatever microbes were there begin multiplying again. The USDA calls the 40°F to 140°F range the “Danger Zone” because bacteria multiply fastest at those temperatures, so safe thawing means keeping food out of it.
The USDA recognizes three approved methods for defrosting:
Refrigerator thawing is the slowest and most reliable approach. Plan for roughly 24 hours per five pounds. Once thawed, ground meat, stew meat, poultry, and seafood stay safe in the fridge for an additional one to two days, while beef, pork, and lamb cuts hold for three to five days. Refrigerator-thawed food can also be refrozen without cooking, though you may lose some texture quality.
Cold water thawing is faster but requires attention. Seal the food in a leak-proof bag, submerge it in cold tap water, and swap the liquid every 30 minutes. A one-pound package thaws in about an hour. Prepare immediately after it thaws, and always cook before refreezing.
Microwave thawing is the fastest route. Use your microwave’s defrost setting, but cook the food immediately afterward because some areas may warm into the Danger Zone during the cycle.
A fourth option is to skip thawing and cook from frozen. The USDA confirms this is safe, though cooking time increases by roughly 50%. Never thaw food on the counter, in hot water, or anywhere outside the fridge, cold water, or microwave.
From Market to Freezer and Back
Handling fresh ingredients well is a loop. You choose the best produce, store it so nothing spoils too soon, freeze whatever you can’t use in time, and thaw it safely when you’re ready to cook. These small, repeatable habits save money, cut down on food waste, and make weeknight cooking noticeably easier once they become routine.
If you’re working on building a complete kitchen routine, our mise en place guide covers the next step in getting ingredients organized and ready to cook. And for the bigger picture on kitchen prep, our food prep fundamentals tie it all together.
All product details, pricing, and availability were verified at the time of publication and may change without notice. Please confirm current information before making a purchase.



Leave a Comment
Your email address will not be published. Required fields are marked *