
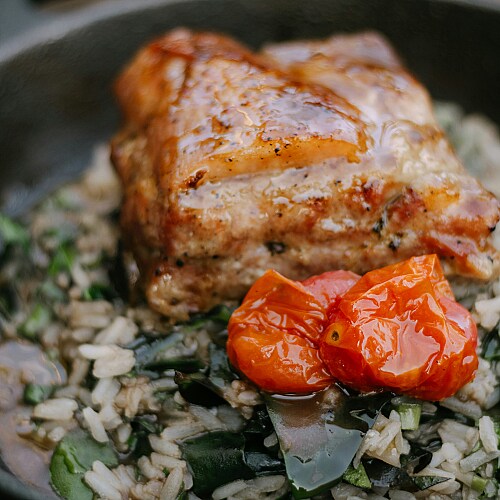
You know that sizzle when a chicken thigh hits a hot pan? That sharp, crackling sound means something good is happening. And the deep golden color that follows tells you flavor is building right on the surface, layer by layer. A few simple cooking tips can ensure that you get that satisfaction out of anything you cook.
Professional cooks use these techniques because they work, and they’re built on basic kitchen science rather than talent or years of training. Once you understand why a dry protein sears better or why crowding the pan kills your crust, guesswork gives way to instinct.
Prep and Organization
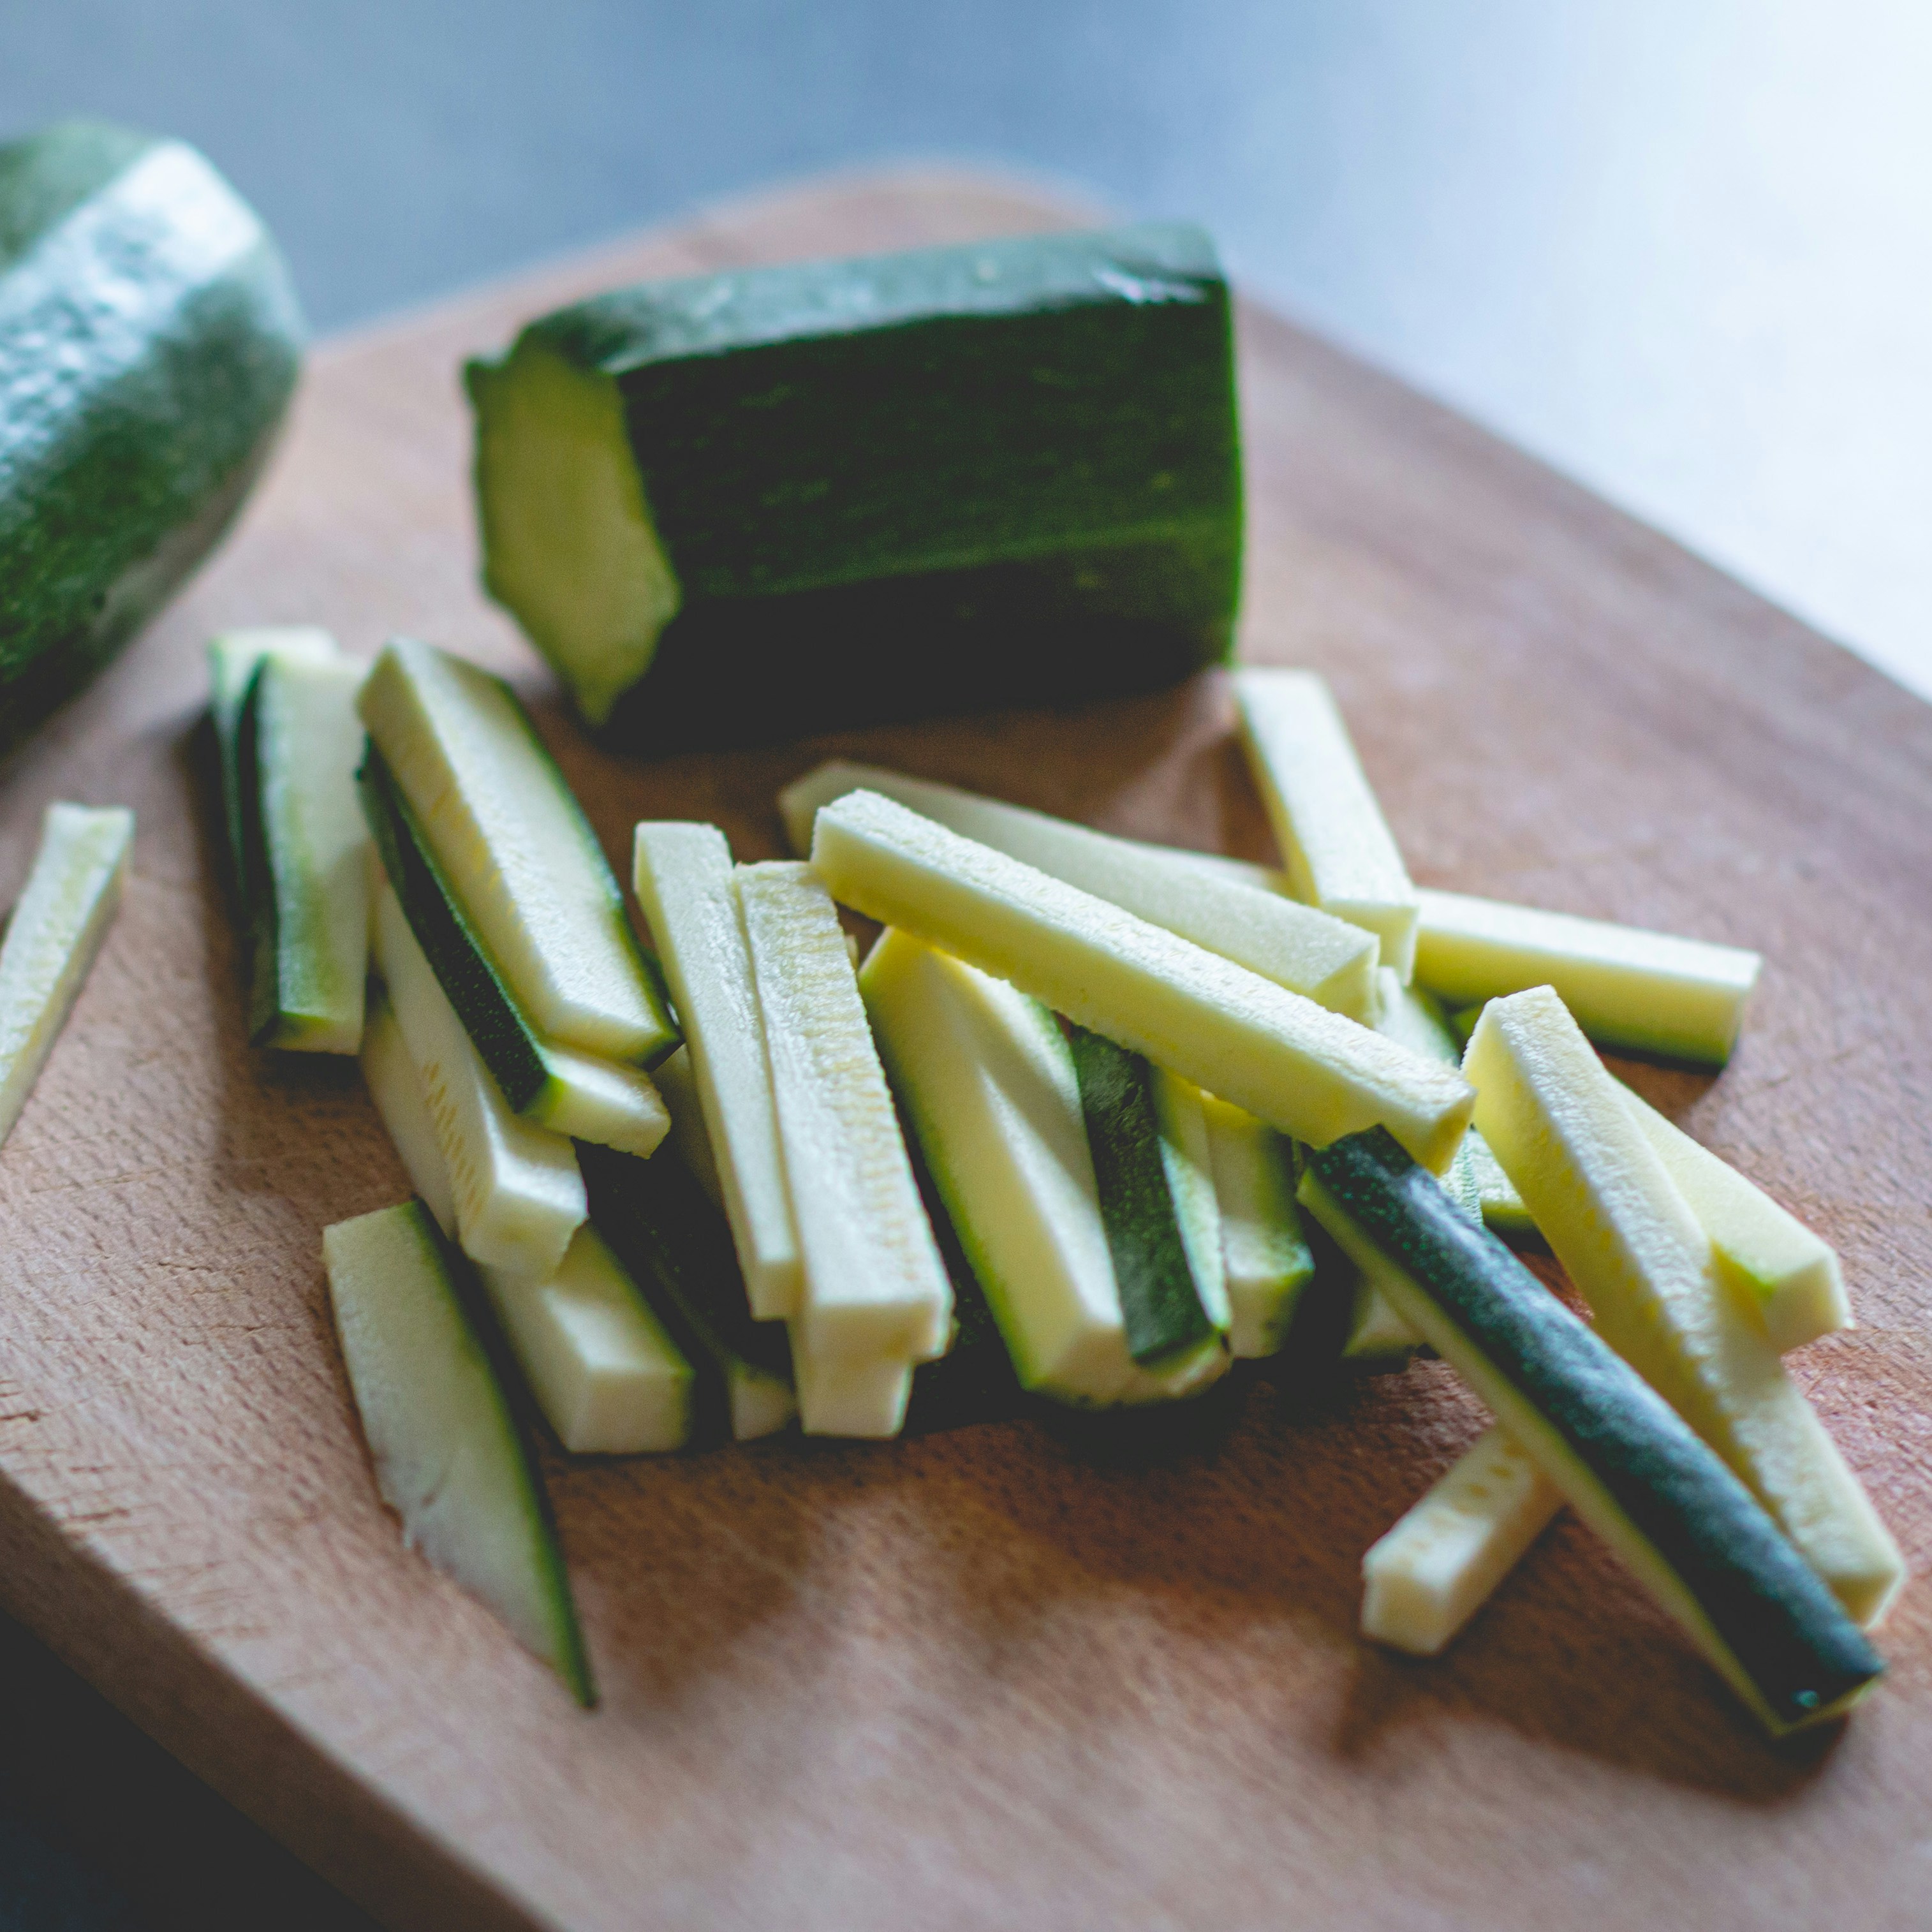
The moves you make at the counter shape what happens at the stove. Sharp cuts, dry proteins, and a properly heated pan set you up before the food hits the heat. Our mise en place guide covers workspace organization in depth, so this section focuses on the hands-on prep that pays off once you’re cooking.
Even, Consistent Cuts
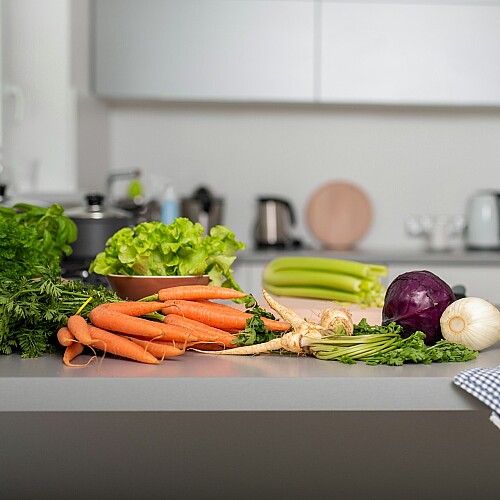
Cutting your vegetables and proteins into uniform pieces is probably the most overlooked prep habit in any kitchen. When your ingredients are roughly the same size, they cook at the same rate. That matters whether you’re roasting a sheet pan of root vegetables, building a stir-fry, or simmering a soup. Thick chunks of carrot sitting next to paper-thin slices will give you some that are mushy and others that are still crunchy, all in the same pot.
Here’s a rough size guide by cooking method:
Stir-fries and sautés work best with pieces around half an inch thick so they cook quickly and evenly over high heat
Roasting and braising can handle one-inch pieces that hold their shape through longer cook times
Soups and stews are more forgiving, but keeping chunks similar in size still prevents some from dissolving while others stay firm
Pro Tip: When you’re working with an oddly shaped vegetable like broccoli or bell pepper, cut the thicker parts smaller and leave the thinner parts a bit larger so they finish at the same time.
Dry Proteins, Better Browning
Surface moisture turns to steam on contact, and that steam wall prevents the golden crust you’re after. You’ll end up with pale, soft results instead of the rich, browned exterior that makes a properly seared protein so satisfying.
The Maillard reaction, the chemical process behind that irresistible browned flavor, only kicks in above 250°F. Water on the surface holds the temperature at 212°F until it evaporates. Removing that wetness gives the pan a head start on developing color, aroma, and depth.
Pat your proteins dry with a paper towel before anything goes near the heat. This goes for chicken, steak, and fish but also for tofu and portobello mushrooms. Here’s how to do it right:
Use paper towels rather than cloth, which can leave fibers behind
Press firmly on all sides, including the underside that sat in the package
Do it before the food goes into the pan, not 10 minutes earlier when moisture will rise back to the surface
Starting With a Hot Pan
Drop your food into a cold skillet, and you’ll get sticking, uneven results, and limp textures. A preheated pan gives you control from the first second of contact, whether you’re searing a steak, crisping tofu, or sautéing greens. Give the surface a couple of minutes over medium-high heat, add your oil, and wait for it to shimmer.
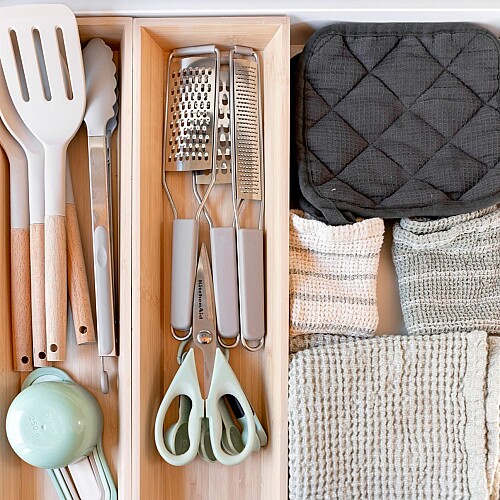
You’ll hear the sizzle immediately when the food lands. If there’s silence, the pan wasn’t hot enough. Pull the food off, give the pan another minute over the heat, and try again. Once the pan is hot, you need everything within reach. Knowing which tools belong on your counter, covered in our kitchen prep tools guide, keeps the cook moving without a hitch.
Cooking and Searing
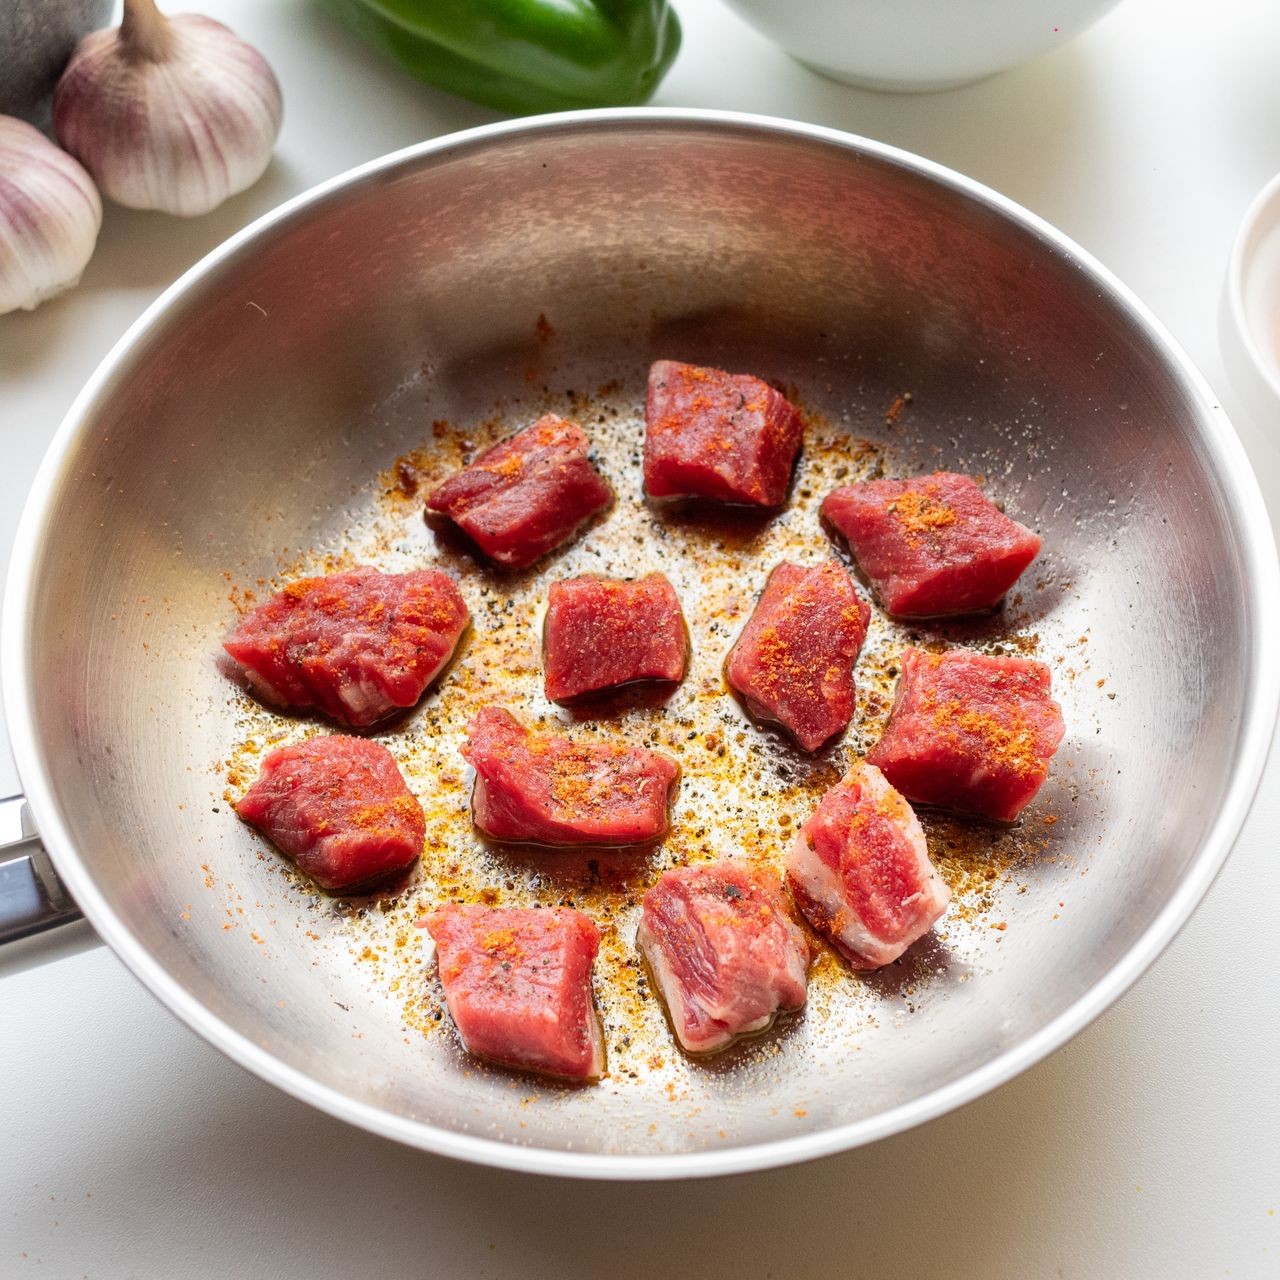
Whether you’re searing, sautéing, or simmering, the same core techniques apply. You need heat control, a little patience, and the confidence to leave food alone when every instinct says to poke at it.
Room in the Pan
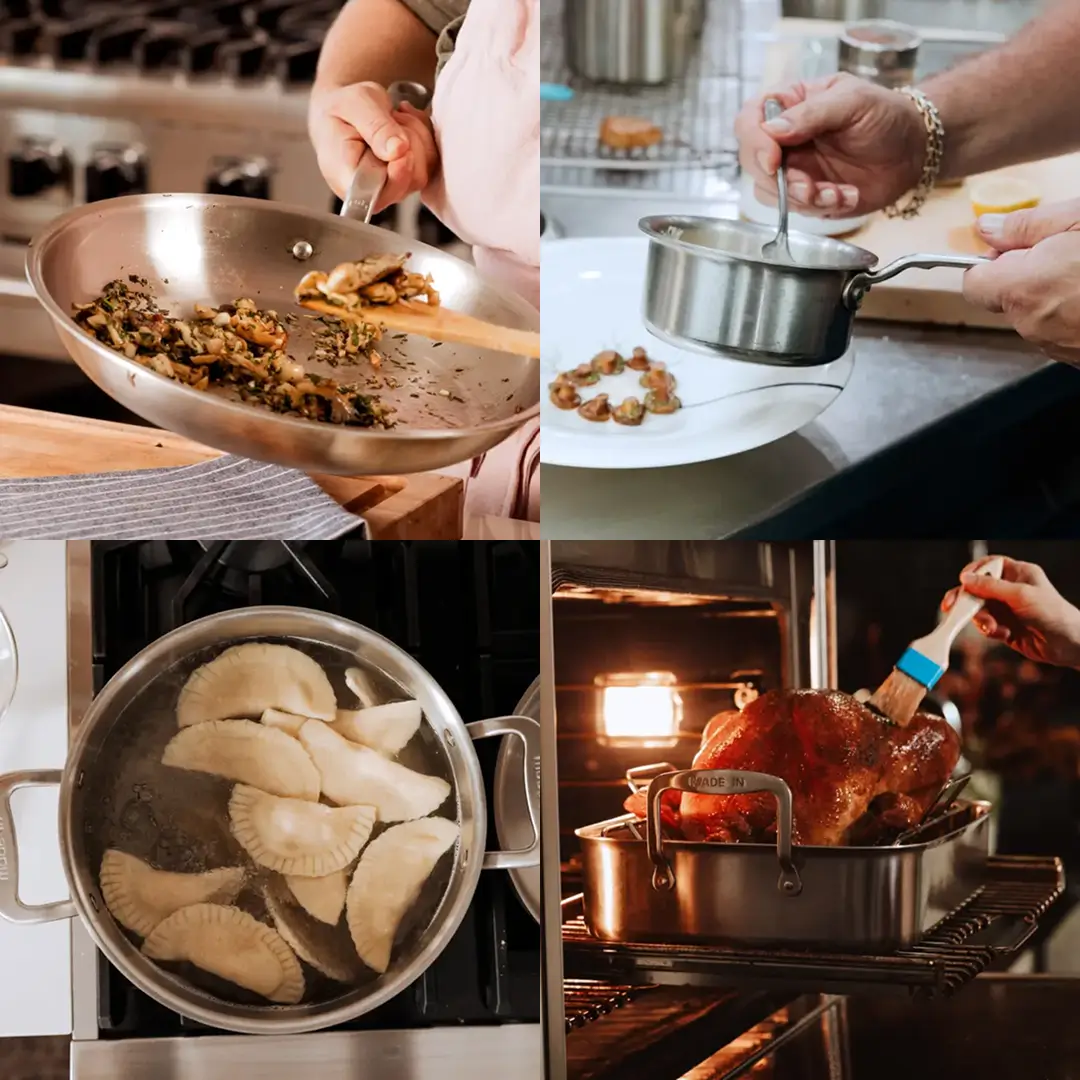
When you crowd the pan, the temperature plummets, and food releases moisture faster than the heat can burn it off. Instead of searing, you’re steaming, and steamed mushrooms or zucchini don’t carry the same appeal as properly browned versions. The same goes for chicken and steak.
The science is straightforward. When too much cold food hits the surface at once, the pan temperature can drop 100°F or more in seconds, and at that point, you’re below the threshold for browning. Give each piece enough space that it isn’t touching its neighbor.
If you’re working with a full batch, cook in two rounds. Sear the first, move it to a plate to rest, then give the second batch its turn at the heat. You’ll spend a few extra minutes, but the color, texture, and flavor you want are worth the wait.
Patience With the Flip
Once your food is in the pan, leave it alone. Resist the urge to poke, shuffle, or flip too early. The crust needs uninterrupted contact with the hot surface to develop, and nudging the food resets the clock on that Maillard browning.
For a chicken breast, steak, or thick slice of cauliflower, three to four minutes of undisturbed contact is usually enough before the first flip. The same patience applies to pancakes, hash browns, and pan-fried dumplings. You’ll know the food is ready to turn when it releases without sticking. If you have to tug, it’s not there yet.
Pro Tip: Press the meat gently with a spatula for extra contact. That firm, even pressure helps the entire surface connect with the heat and speeds up crust development.
Reading the Heat
Medium-high is the default for most searing, but treat it as a starting point rather than a fixed rule. Watch the pan and listen to it.
Heavy smoke from the oil means you’ve passed the oil’s smoke point and the fats are breaking down. Pull the pan off the heat for 30 seconds, let it cool slightly, and resume. If it keeps happening, switch to an oil with a higher smoke point, like avocado or refined grapeseed.
A faint hiss when food goes in means the surface isn’t hot enough to drive off moisture quickly. The food will steam and stick rather than sear. Remove the food, let the pan recover for another minute, and try again.
A sharp, immediate crackle means you’re in the right range. The moisture is evaporating on contact, and the surface is hot enough for browning to begin.
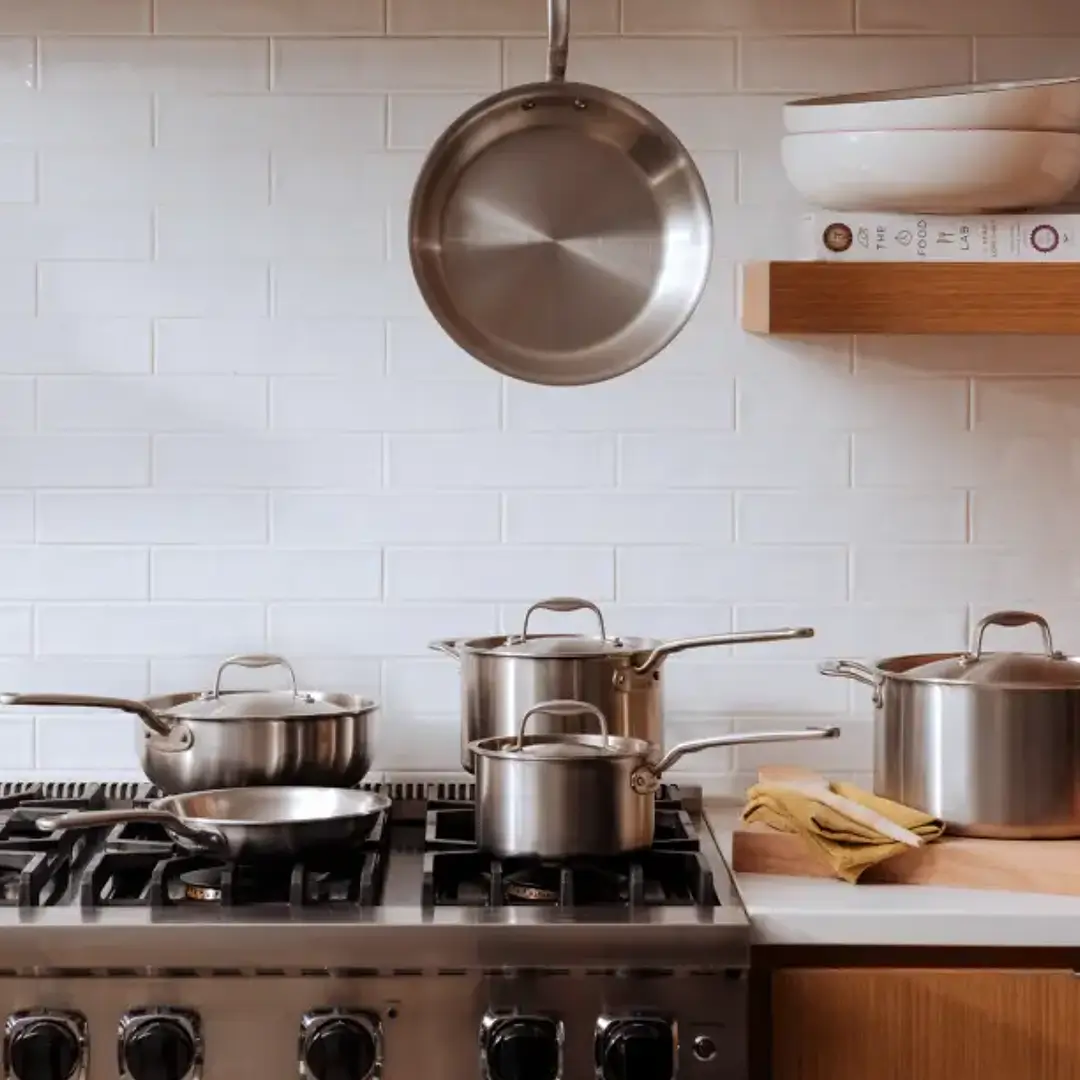
Learning to read those signals takes a few tries, and you’ll develop a feel for how your specific stove and cookware respond. Thin stainless steel heats quickly but loses temperature the moment food goes in. A heavy cast-iron skillet holds steady and recovers without much fuss. Pay attention to how your setup behaves, and trust what you hear and see over the number on the dial.
Flavor and Seasoning
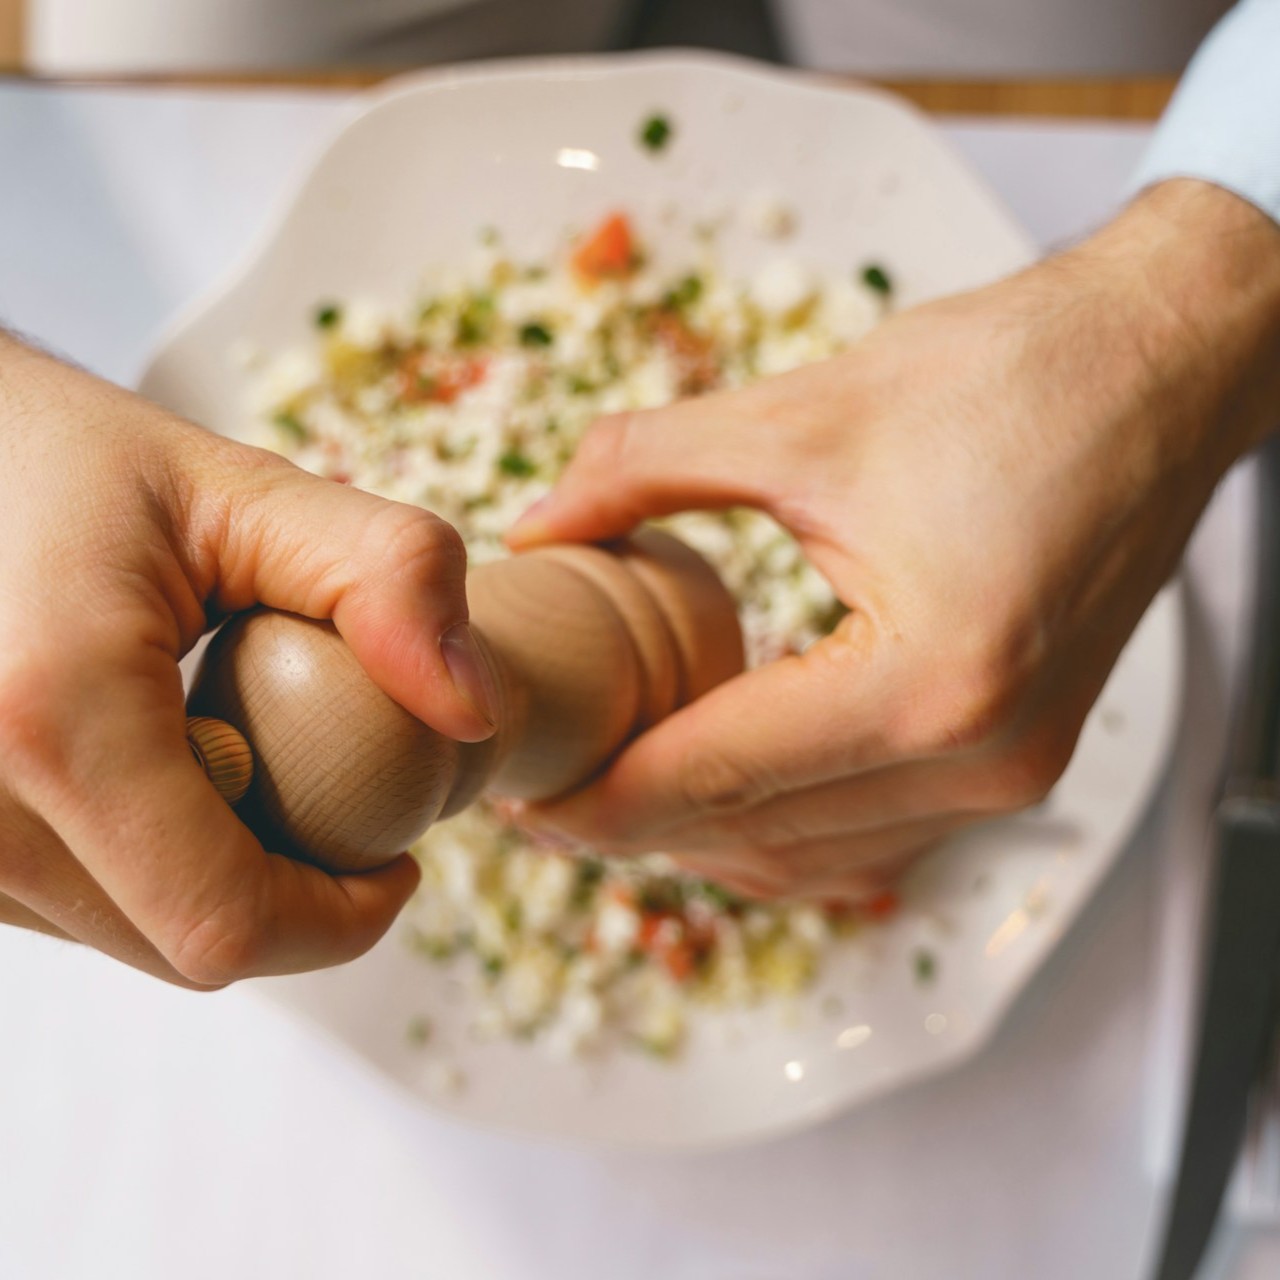
One of the most important cooking tips (and one of the easiest to mess up) is proper seasoning. Good seasoning runs through the entire cook, from the first pinch of salt on raw ingredients to the final squeeze of lemon on the plate.
Seasoning in Layers
Season as you go. Salt added early draws moisture out of aromatics like onions and garlic, helping them soften and release their flavor faster. Salt on raw proteins before cooking seasons the interior along with the surface. And salt added to a simmering liquid dissolves evenly, so every spoonful of soup or sauce tastes balanced rather than salty in one bite and flat in the next.
Salt gets all the attention, but when you add your other seasonings matters just as much.
Dried spices (cumin, paprika, chili flakes) release the most flavor when bloomed in hot oil for 30–60 seconds early in the cook. Tossing them in at the end leaves them tasting raw and dusty.
Garlic burns quickly and turns bitter, so add it after your onions have softened. Thirty seconds to a minute over medium heat is enough.
Fresh herbs (basil, cilantro, parsley, dill) lose their brightness with prolonged heat. Stir them in during the last minute of cooking, or scatter them on top right before serving.
Hearty herbs (rosemary, thyme, oregano) hold up to heat and work best added early, where they infuse into the liquid or fat over time.
Black pepper delivers more aroma and complexity when ground fresh at the end. Pre-ground pepper added early in a long cook loses its punch.
The goal is depth, not volume. Building flavor in stages means every component of the dish carries its own character.
The Mid-Cook Taste Test
Taste as you cook. It sounds obvious, but plenty of home cooks skip this step and wait until the food is on the plate to discover something is off. By then, the only option is salt and pepper at the table, and that’s a band-aid, not a fix.
Grab a clean spoon throughout the process. Taste after adding your aromatics, again after the liquid reduces, and once more before you plate.
Here’s what you’re checking for:
Salt level should feel balanced, not flat or aggressively salty. If the food tastes bland but you’ve already added salt, the issue is likely acid or fat, not more salt.
Depth and body tell you whether the dish needs more richness. A knob of butter stirred into a sauce, a splash of cream, or a drizzle of olive oil can round out flavors that taste thin or sharp.
Sweetness and heat are easier to overdo than to fix. Add in small increments, taste, and wait before adding more.
You can always add more of any element. You can’t take it back, so tasting early and often keeps you in control.
A Squeeze of Acid
If a dish tastes flat even after you’ve seasoned it well, acid is usually the missing element. A splash of lemon juice over roasted broccoli, a drizzle of vinegar through a grain bowl, or a spoonful of something bright from our condiments guide can wake the entire plate up and pull flavors into focus.
Acid works by cutting through richness and amplifying what’s already in the dish. On a basic level, fat coats your palate and mutes flavor. Acid dissolves that coating, so your taste buds pick up more of the salt, herbs, and spices you’ve already added. That’s why a rich braise or a hearty stew often needs just a teaspoon of vinegar to snap into focus.
A pot of lentil soup, a creamy risotto, or a sheet pan of roasted vegetables will all benefit from a bright finish. Start with a small amount, taste, and add more if the dish needs it. The goal is brightness, not sourness, and you’ll often be surprised how little it takes to bring everything together.
Resting Before the Knife
You’ve seared a beautiful steak, and the temptation to slice into it immediately is real. Resist that impulse. Resting lets the internal temperature stabilize and the muscle fibers relax, which keeps the juices distributed evenly throughout the meat instead of flooding your cutting board the moment the knife goes in.
Carry-over cooking is part of the equation, too. A thick steak or roast will climb another 5–10°F after you pull it from the heat, so factor that rise into your timing. An instant-read thermometer like the ThermoWorks Thermapen ONE takes the guesswork out of doneness.
Here’s a quick reference for the USDA safe minimum temperatures:
Protein | Safe Internal Temp | Rest Time |
|---|---|---|
Whole cuts (beef, pork, lamb) | 145°F | 3 minutes |
Ground meats | 160°F | None |
All poultry | 165°F | None |
Fish | 145°F | None |
Hit those numbers, let the meat rest where required, and you’ll get juicy, safe results.
From Cooking Tips to Kitchen Instincts
Techniques and temperatures give you a foundation, but instinct is what makes cooking feel like second nature. The more you cook, the more you’ll recognize what’s happening in the pan by sight, sound, and smell rather than by watching a timer.
You’ll learn that your cast-iron skillet runs hot on the back-left burner and needs the dial turned down a notch. You’ll figure out that your oven bakes unevenly and that rotating the sheet pan halfway through solves it. You’ll notice that your roasted vegetables caramelize faster on the lower rack or that your favorite olive oil smokes at the heat level you cook on most often. These little discoveries are yours, and no recipe can teach them to you.
So keep cooking, keep tasting, and keep paying attention. Every meal is practice, and the best cooks you know got there by doing exactly that. The habits in our food prep fundamentals guide are the starting framework. Your kitchen is where they become instinct.
All details were verified at the time of publication and may change without notice. Please confirm current information before making a purchase.



Leave a Comment
Your email address will not be published. Required fields are marked *